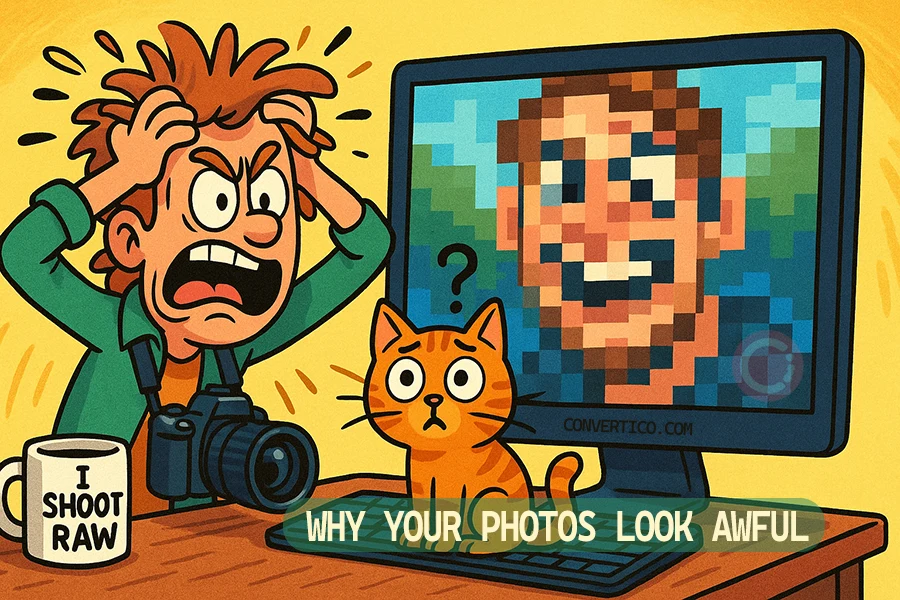
What's Actually Happening?
When you upload a high-resolution image, platforms often compress it to save space and load faster. But bad compression equals lost detail, washed-out colors, or that dreaded pixelated look.
And if you try to shrink the file yourself? Saving a JPG at "medium" quality might tank the image without you even realizing it.
The Hidden Problem: Most platforms automatically compress uploaded images, often using aggressive settings that prioritize file size over quality. This can reduce your image quality by 40-60% without warning.
Common Quality Issues You'll See:
- Blurry or fuzzy details, especially in text or fine lines
- Color banding in gradients or sky areas
- Pixelated or blocky artifacts around edges
- Washed-out or muted colors
- Loss of shadow and highlight detail
How to Fix It (The Right Way)
Here's how to make your images look great and stay lightweight:
1. Use the Right Format
- JPEG: Great for photos, but compress carefully to avoid artifacts
- PNG: Best for images with transparency, text, or sharp edges
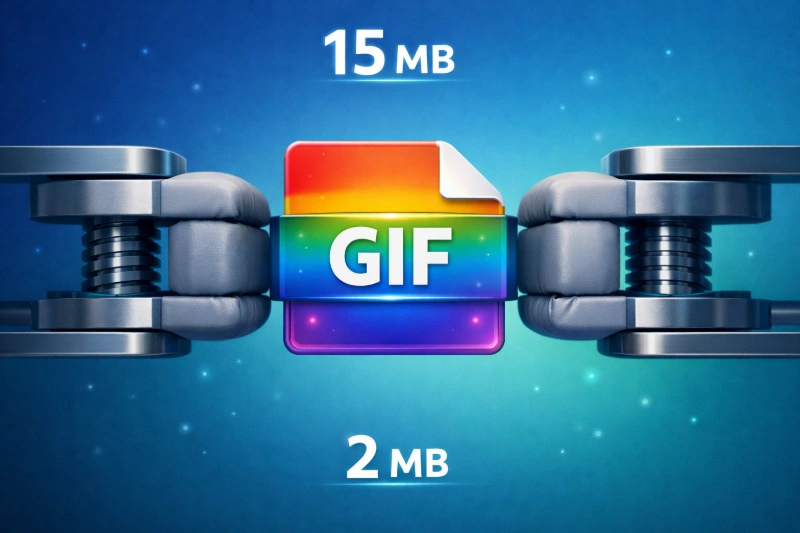
- WebP: Modern format that's small and sharp (supported on most browsers now), providing 25-34% smaller file sizes than comparable JPEG images
WebP: The Game Changer
WebP is a modern image format that provides superior lossless and lossy compression for images on the web, with lossless WebP images being 26% smaller in size compared to PNGs.
WebP supports animation, transparency, and both lossy and lossless compression, making it a comprehensive format for delivering optimized images on websites.
2. Resize Before Uploading
Uploading a 4000x3000px image for a tiny profile picture? That's overkill. Resize it first using a simple tool like:
- ConvertICO Image Resizer - Free, fast, no login required. Just upload, set your target size, and download.
- Squoosh: Resize and compress with visual previews
- Preview (Mac) or Paint (Windows): Basic, built-in tools
3. Adjust Compression Quality
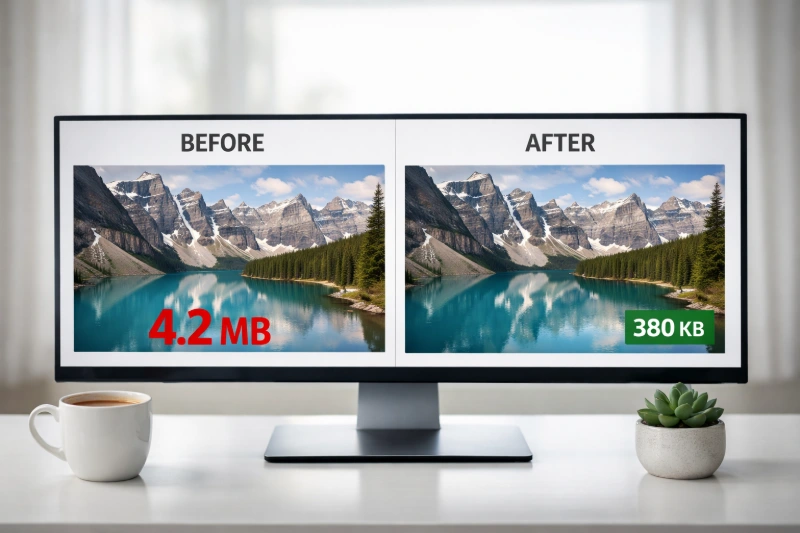
When exporting JPEGs, aim for 70-85% quality. You'll barely notice a difference visually, but the file size will drop dramatically.
Perfect quality, massive file size (500KB+)
Nearly identical quality, much smaller (150KB)
Visible quality loss, artifacts appear
4. Try Smart Compression Tools
Professional-Grade Tools:
- ConvertICO Compression Tools - Smart compression that maintains visual quality
- ImageOptim (Mac): Strips metadata and optimizes without quality loss
- RIOT (Windows): Real-time image optimization tool
- Photoshop "Save for Web": Industry-standard optimization feature
Bonus Tips for Websites & Emails
If you run a blog or small business:
- Smaller images = faster load times: Every second matters for user experience
- Faster load times = better SEO: Google rewards fast-loading websites
- Better user experience = happier visitors: People stay longer on fast sites
SEO Impact: Website performance remains a critical factor for user experience and search engine rankings in 2025, with image optimization being a key component.
Advanced Optimization Techniques:
- Lazy Loading: Load images only when they're about to be viewed
- Responsive Images: Serve different sizes for different devices
- CDN Delivery: Use content delivery networks for faster global access
- Format Auto-Detection: Automatically serve the best format for each browser
The Bottom Line
You don't need to be a graphic designer, just spend an extra 2 minutes optimizing your image before you hit upload. It's free, it's easy, and your content will instantly look more polished.
Quick Action Steps
- Resize to the display size you actually need
- Choose the right format (WebP > JPEG > PNG)
- Set compression to 70-85% for JPEGs
- Use a quality compression tool
- Test the result before publishing
Remember: WebP provides superior compression and image quality, with files that are 25-34% smaller than comparable JPEG images at equivalent quality.
Start using modern formats today and watch your website performance improve dramatically.
Ready to optimize your images?
Use our professional optimization tools:
PNG to WebP JPEG to WebP PNG to AVIF